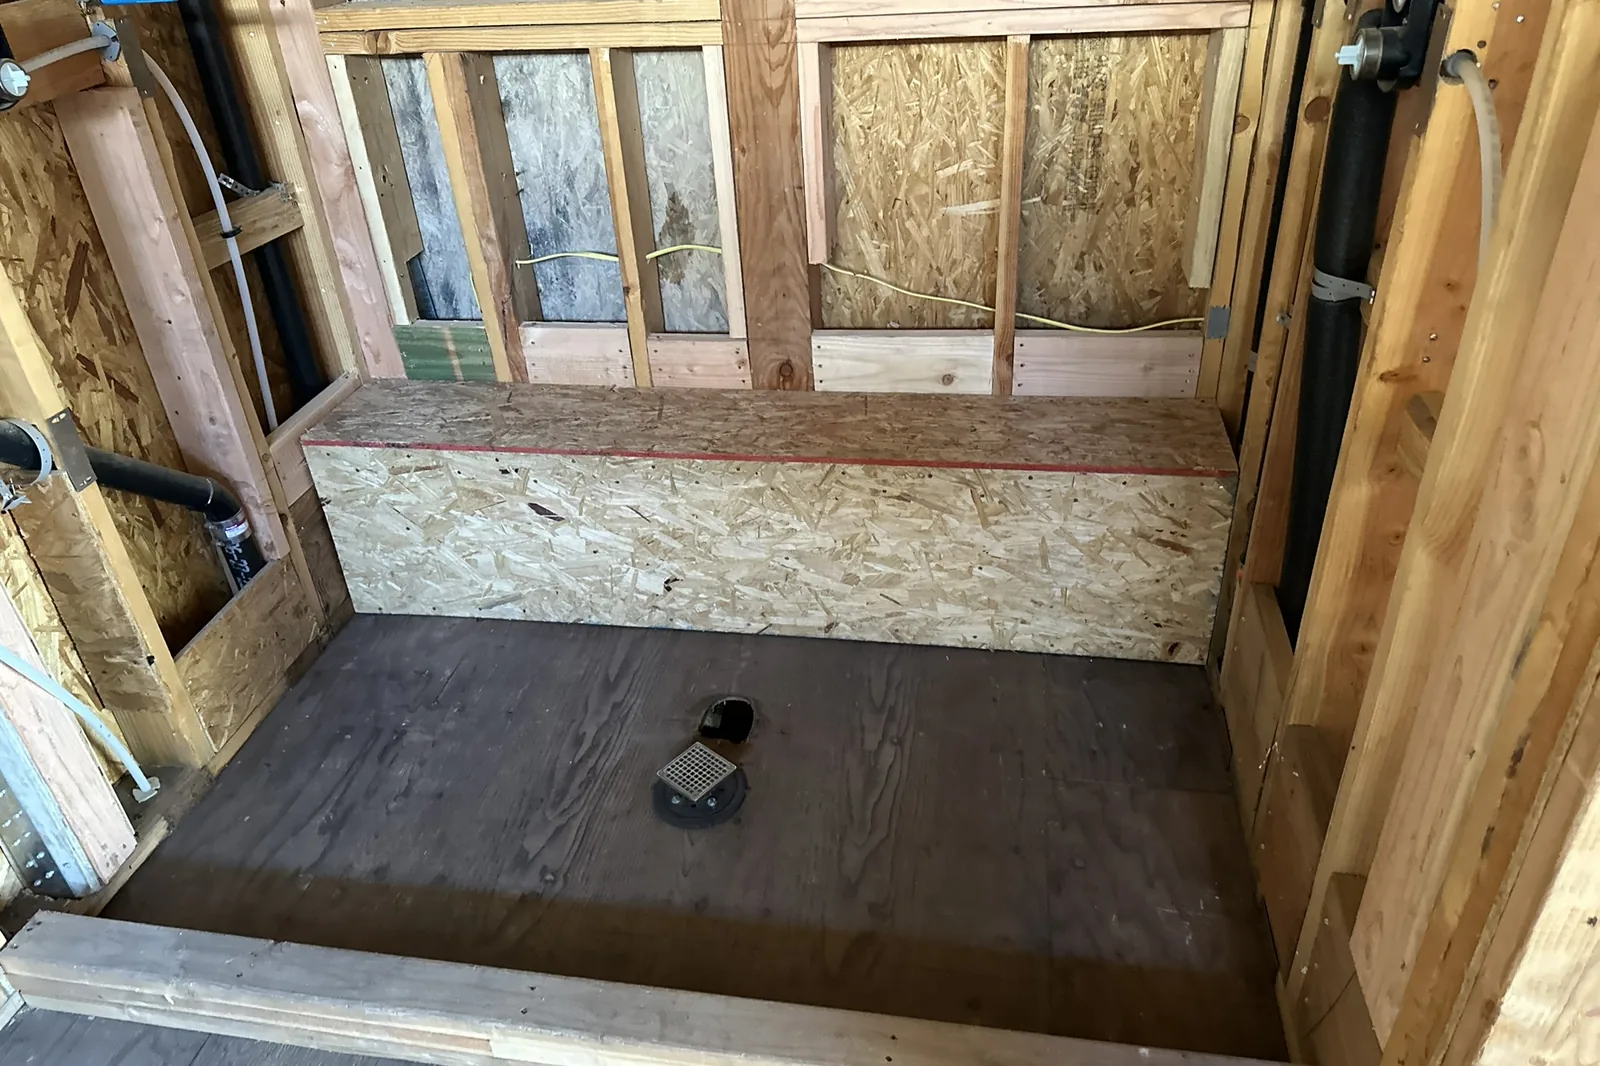
Akopi Builders project: a shower framed with its drain and bench, before waterproofing, in Bel Air.
The best way to waterproof a curbless walk-in shower is to recess the floor so the shower can slope to the drain while the entry stays level with the bathroom, then cover the whole wet area with one continuous waterproofing system. That system is a bonded sheet membrane or a liquid-applied membrane, tied into a drain made for it and carried up the walls and out past the entry into the bathroom floor. Before any tile goes on, flood test it with a temporary dam across the open entry and have the City inspect it. Most of the leaks come from the parts that are hard to see later: the drain connection, the corners, and the edge where the shower floor meets the bathroom floor. In Los Angeles, going curbless usually adds about $2,000 to $6,000 over the same shower with a curb on a wood-framed floor, and more when a concrete slab has to be cut. Akopi Builders (CSLB 1112420) builds high-end bathrooms and custom homes in Los Angeles, including curbless showers.
Your drawings show one continuous floor with no step into the shower. That line is easy to draw. Making room under it, and keeping water from traveling past it, takes decisions before the tile arrives. Here is how the shower should be built, what to see before it is covered, and what it costs.
Make room under the floor first
A curbless shower still has to slope. The 2025 California Plumbing Code requires a shower floor to fall toward the drain at no less than 1/8 inch and no more than 1/2 inch per foot, and tile setters usually plan on 1/4 inch per foot. Over a 4 foot run to the drain, 1/4 inch per foot is a full inch of fall, plus the mortar bed or tray and the tile on top. That depth has to come from below the bathroom floor, because the entry has no curb to hide it.
- Raised wood floor. Common in older Los Angeles houses. The floor is lowered between or along the joists. Cutting or dropping joists is structural work, so it needs an engineer’s detail and the framing inspection, not a decision made with a saw on site.
- Concrete slab. The slab is cut and lowered, and the drain line under it usually moves. This is the expensive case.
- New construction. The cheapest time to go curbless. The recess is framed or poured into the floor from the start.
The base is formed either with a sloped mortar bed or a prefabricated foam tray made for curbless showers. Either works if it fits the recess at the right slope.
Pick the drain with the slope in mind
- A linear drain (a long, narrow drain along one wall or at the far end) lets the floor slope in one direction. That keeps large-format tile flat and makes the level entry easier.
- A center drain needs the floor shaped four ways into the middle, which suits smaller tile.
Whichever you choose, it should be a drain with a bonding flange made for the membrane system being used, so the waterproofing seals to the drain body and not just to the grate. Where the drain sits matters more than how the grate looks.
Carry the waterproofing past the entry
The membrane is the water-resistant layer under the tile. In a curbless shower it has to run continuously through the whole wet area:
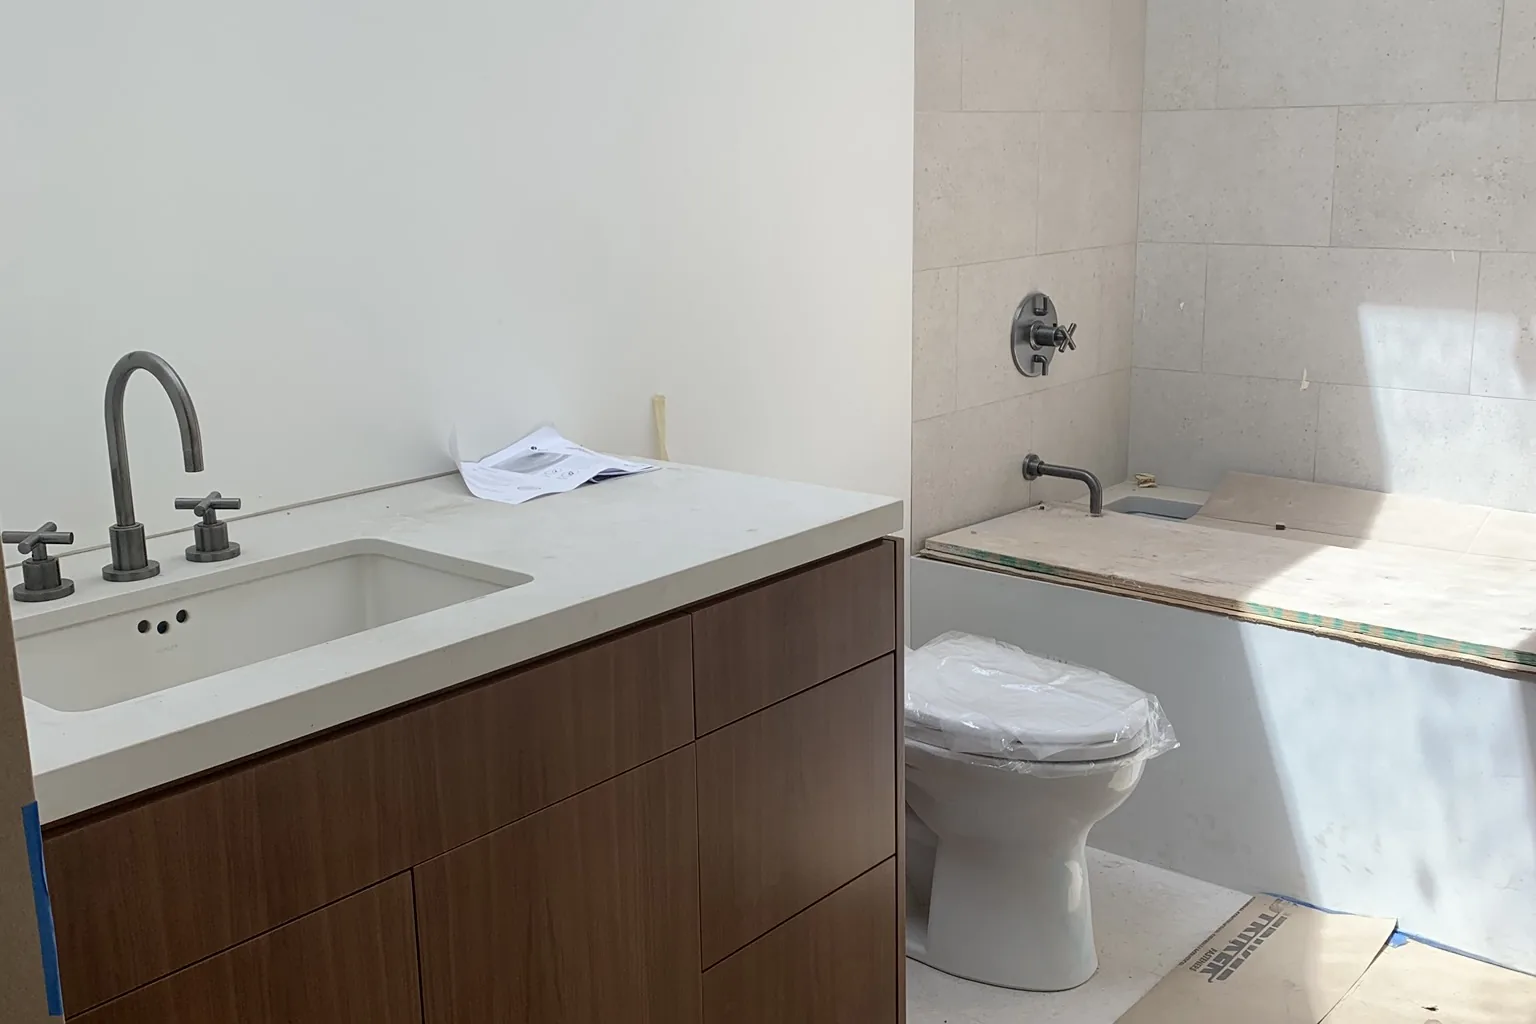
Akopi Builders project: a bathroom near completion in Santa Monica.
- Into the drain flange, sealed by the system’s own method.
- Up the walls, to at least the height of the shower head, with the corners, the bench and the niches sealed as part of the same system.
- Out past the open entry and into the bathroom floor that catches overspray. Where the tile changes is not where the water stops. In a curbless bathroom, a common choice is to waterproof the entire bathroom floor while it is open, since the extra cost is small at that stage.
There are two main types. Bonded sheet membranes (Schluter Kerdi, for example) come at a consistent thickness and are set in thinset. Liquid membranes (such as RedGard or Laticrete Hydro Ban) are rolled or brushed on in coats and cure seamless, which suits awkward shapes. Either can work. Look for a product listed to ANSI A118.10, the standard for waterproofing membranes under tile, and ask that it be installed to the maker’s instructions, including the required thickness.
The traditional Southern California shower pan, a hot-mopped or sheet liner under a mortar bed, is built with the liner turned up behind a curb, which is harder to detail at an open entry. A bonded membrane right under the tile is the usual answer for a curbless shower.
Keep the water inside without a curb
A watertight floor and a dry bathroom are two different problems. Passing a water test says nothing about where the spray lands.
- Shower head position. A rain head pointing straight down throws less water toward the entry than an angled wall head.
- The glass. Where the fixed panel stops, and how wide the opening is, decide how much water gets out. Walk the spray path with the real shower head position before the glass is ordered.
- A trench drain at the entry. A second drain across the opening catches water that reaches it. It is useful in a tight bathroom, but it is not a substitute for laying out the glass and the head.
Test it and get it inspected before tile
The California Plumbing Code requires a shower base to be filled with at least 2 inches of water for at least 15 minutes. Where there is no threshold, a temporary 2 inch dam is built across the entry for the test. Many building departments and membrane makers ask for a longer test, often 24 hours, so ask what your inspector and your membrane system require.
In the City of Los Angeles, LADBS logs the shower pan as its own inspection, and work has to be approved before it is covered. Before tile goes on, ask two things: has it been flood tested, and has the inspection been approved? Photos of the exposed membrane at the drain and the entry are worth keeping. Beverly Hills, Malibu and unincorporated LA County have their own building departments and inspection rules.
What curbless adds to the cost
These are 2026 market ranges, not Akopi quotes. They are the extra cost of going curbless compared with the same shower built with a curb, inside a bathroom remodel that already pays for tile, glass and fixtures.
| Floor | Most of Los Angeles | Beverly Hills, Bel Air, Brentwood, Palisades, Malibu |
|---|---|---|
| Raised wood floor or new construction | about $2,000 to $6,000 more | about $2,500 to $8,000 more |
| Concrete slab cut and drain moved | about $5,000 to $12,000+ more | about $6,500 to $16,000+ more |
The extra pays for the recessed floor, the linear drain, the membrane carried into the bathroom and the extra days on site. The high-end column is higher because of time: parking, traffic, delivery limits and hillside access add hours to every day. For the cost of the whole room, see our high-end bathroom remodel cost guide and the bathroom remodeling page.
What to ask before the tile goes on
- How deep is the recess, and who signed off on any framing or slab change?
- Which membrane system is it, and does it meet ANSI A118.10?
- How far does the membrane run past the entry?
- How was the entry dammed for the flood test, and for how long?
- Has the shower pan inspection been approved?
A curbless shower is an early decision in a remodel, not a finish choice. Decide it while the floor is still open.
Akopi Builders is a licensed California general contractor in Los Angeles, CSLB 1112420. To plan a curbless shower inside a bathroom remodel, bring your drawings to a project conversation.
Next step
Start with a conversation.
Tell us about your space and you'll get a clear, honest read on the work, electrical included.